
Hiking Boots Buying Guide: Fit Decides, Not Ankle Height
The ankle support claim does not hold up, and the membrane is not always an upgrade. Category, fit, and outsole compound are what matter.
Boots are the one piece of hiking equipment where getting it wrong ruins the day rather than merely annoying you. A tent that is heavier than necessary is a nuisance. Boots that are half a size too small on a long descent produce blisters and bruised toenails you will be dealing with for weeks.
The frustrating part is that almost none of the useful information appears on the box. Membrane brand names, aggressive-looking lug patterns, and the word "technical" are what the marketing offers. Fit, stiffness, and how the sole matches your terrain are what actually matter, and only the first of those is even measurable in a shop.
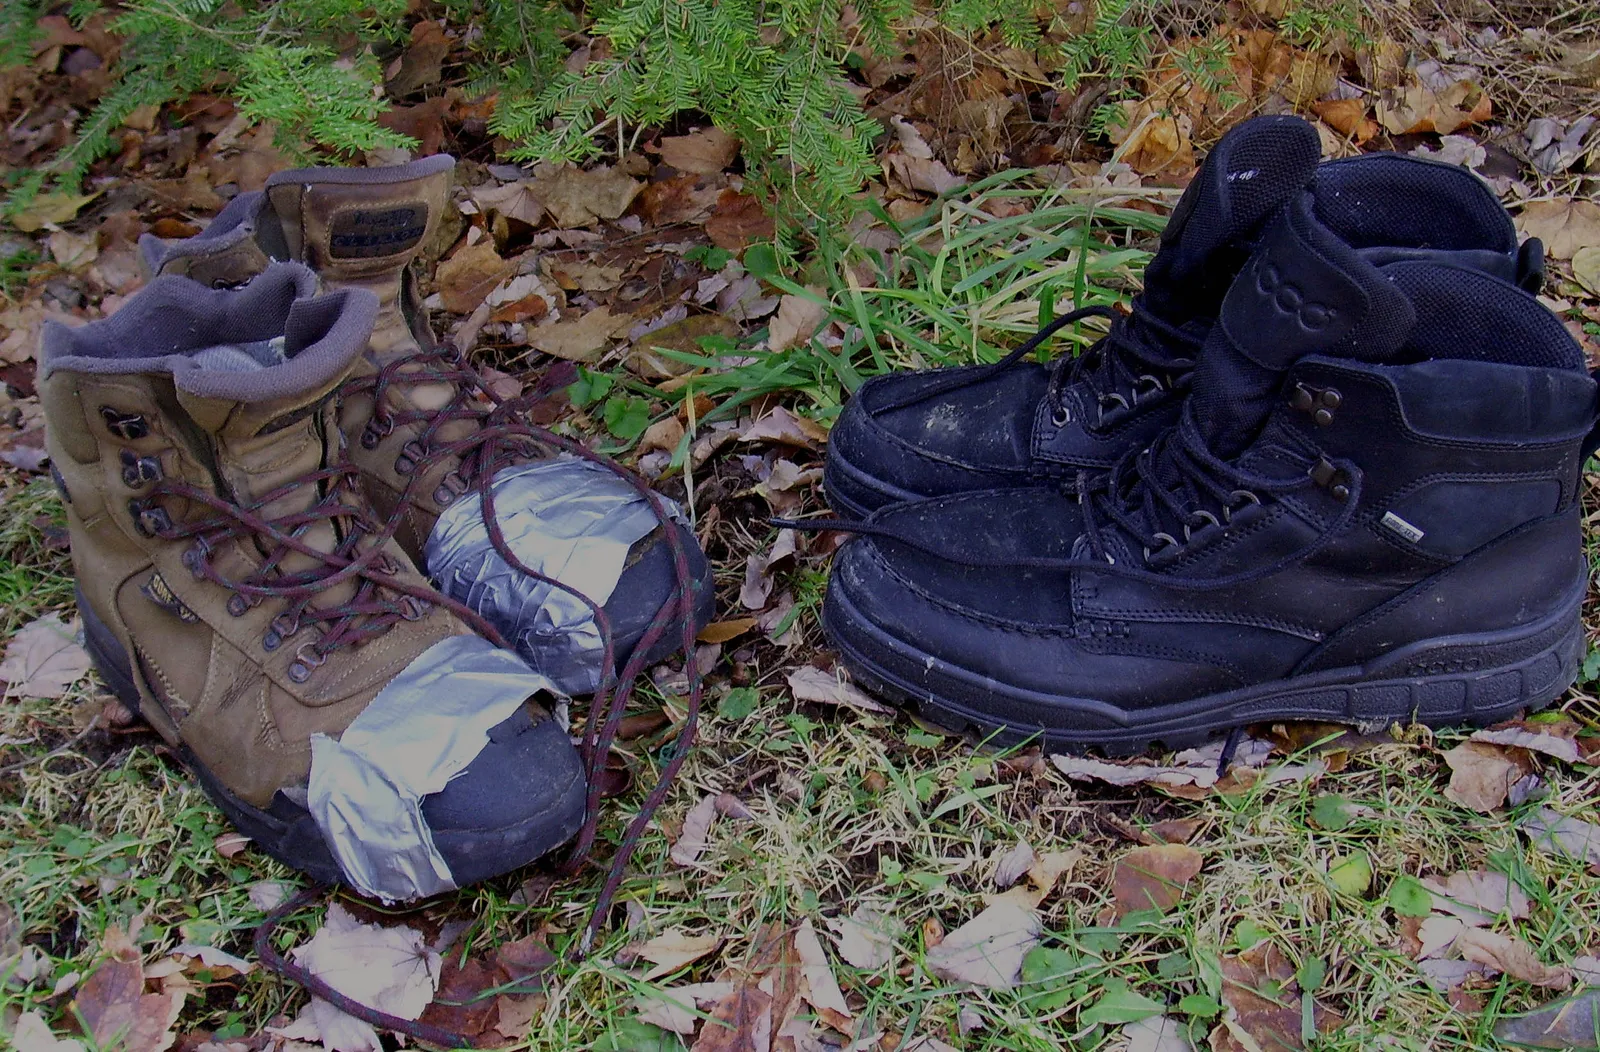
Decide the category before you look at any model
Hiking footwear splits into four broad categories, and picking the wrong one is the most expensive mistake available.
Trail shoes are low-cut, flexible, and light, with a running-shoe-like build and a grippy outsole. They are the right choice for day walks on maintained paths, dry conditions, and anyone carrying less than about eight kilograms. They dry fast, need no breaking in, and let your ankle move naturally. Their limit is load: on rough ground with a heavy pack, a flexible sole lets your foot deform over rocks and your arch fatigues.
Mid-cut hiking boots add a collar above the ankle and a stiffer midsole. This is the default category for general hillwalking with a day pack, mixed weather, and uneven ground. The extra height keeps grit out more than it provides genuine ankle support, which is a distinction worth understanding.
Backpacking boots are stiffer still, with a substantial shank in the midsole, designed to carry fifteen kilograms or more over multiple days without your feet collapsing. They are heavier and need real breaking in, and they are unpleasant overkill on a two-hour park walk.
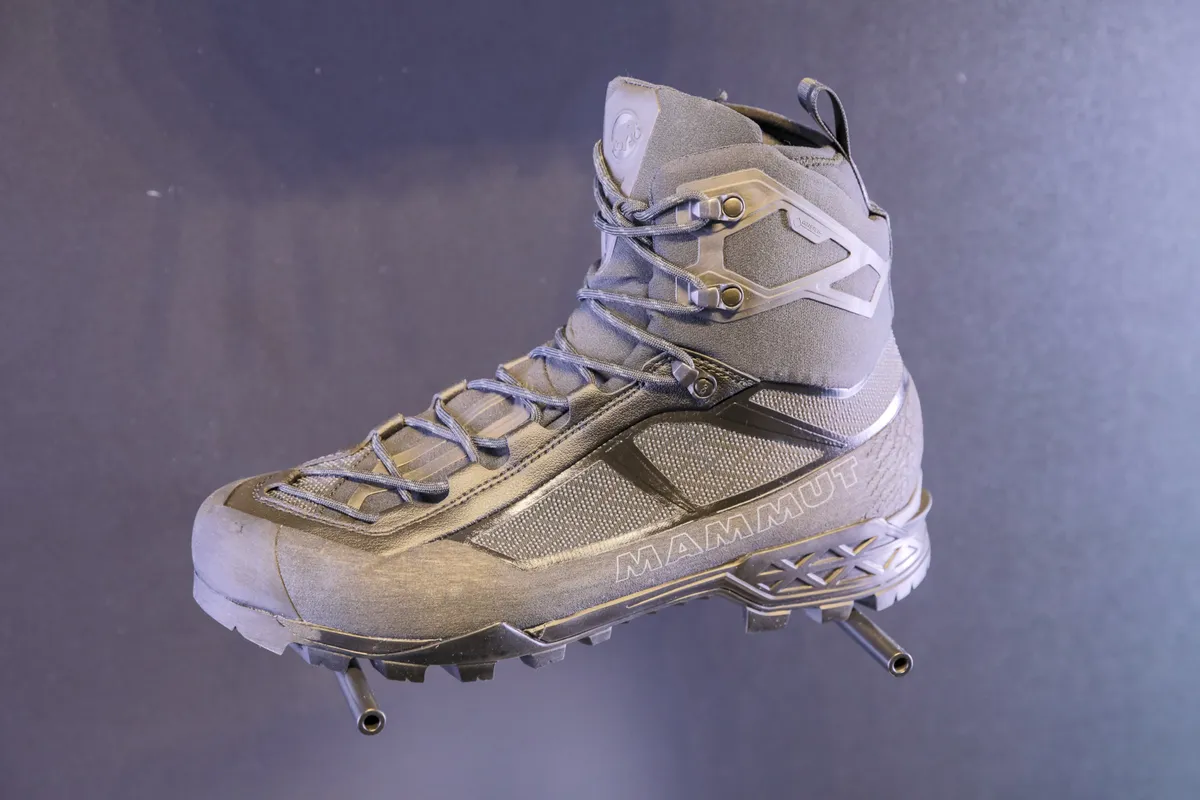
Mountaineering boots are rigid, crampon-compatible, and insulated. If you are not on snow, ice, or via ferrata, they are the wrong tool.
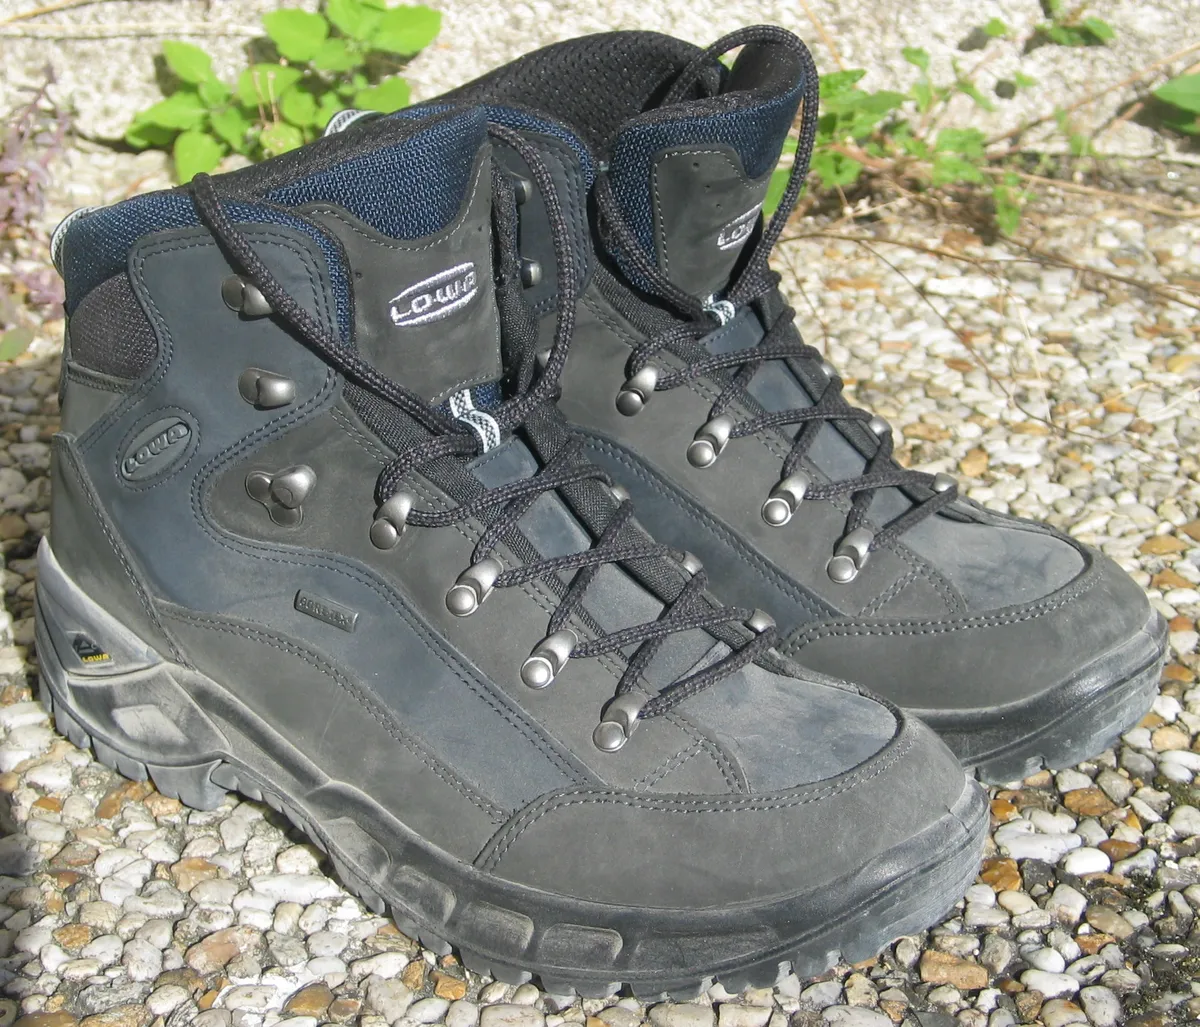
Be honest about what you actually do rather than what you aspire to. Most people who buy backpacking boots use them for day walks, where the stiffness works against them. Buy for the hikes in your calendar this year.
The ankle support myth
A mid or high collar does not meaningfully prevent ankle rolls. Research on ankle injury in hikers has repeatedly failed to show that boot height reduces sprain rates, and a soft fabric collar cannot resist the forces involved in a real roll. What actually protects your ankles is proprioception and strength, both of which develop faster in flexible low-cut footwear, plus a sole wide enough not to tip.
What a higher collar genuinely does: keeps scree, mud, and snow out of the boot; protects the ankle bone from rock scrapes; and holds the heel down more firmly when combined with a lacing hook at the ankle. Those are real benefits. Choose height for debris protection and heel hold, not for a support claim that does not hold up.
Fit is the whole game
Feet swell during a walk, by as much as half a size on a long hot day. That is why hiking boots are fitted with deliberate extra length: with the boot unlaced and your foot slid forward until your toes touch the front, you should be able to fit one finger snugly behind your heel. In normal wear, expect roughly a thumb's width — about 1 cm — between your longest toe and the end.
Width matters as much as length, and manufacturers differ enormously here. Some brands run notably narrow through the forefoot, others build on a wider last. If one brand has never fitted you, the fix is usually a different brand rather than a different size. A few makers offer explicit wide fittings, which is worth seeking out rather than sizing up in length to gain width, because that leaves your heel swimming.
Test fit properly: try boots on in the afternoon when your feet have swollen, wear the socks you will actually hike in, and walk on the shop's slope board both up and down. On the descent, your toes must not touch the front. Your heel should lift no more than a few millimetres. If your heel slides, try a runner's loop or heel-lock lacing through the top eyelets before rejecting the boot; it fixes a surprising proportion of heel lift.
The insoles that come in most boots are thin foam placeholders. Swapping in a supportive aftermarket insole often transforms both fit and comfort, and it also gives you a way to fine-tune volume: a thicker insole takes up space in a boot that is slightly too roomy. Buy the boots to fit with the insole you intend to use.
Waterproof membranes: useful and oversold
A laminated membrane makes a boot waterproof against rain and puddles, and simultaneously reduces how fast it breathes. In cool, wet, temperate conditions that trade is clearly worth it. In hot dry weather it is not: your feet sweat, the sweat cannot escape fast enough, and you end up with damp feet anyway plus more heat.
The other issue is drying. A membrane boot that gets water in over the collar — which is exactly what happens in a stream crossing or deep mud — holds that water for a very long time, because the membrane that stops water entering also stops it leaving. Non-membrane trail shoes soak through instantly and then drain and dry within an hour of walking.
So: membrane boots for cold, wet, and muddy conditions and snow. Non-membrane shoes for hot, dry, and summer conditions, and for anywhere you will be crossing water repeatedly. Some people own both, and that is a genuinely sensible arrangement rather than gear excess.
Whatever you buy, waterproofing is maintenance, not a permanent property. The durable water repellent treatment on the outer fabric wears off, the fabric wets out, and the boot feels like it is leaking even when the membrane is intact. Clean the boots and reproof the outer once or twice a season and most "my boots have failed" complaints disappear.
Leather, synthetic, or a mix
Full-grain leather is the most durable and the most water-resistant material available, moulds to your foot over time, and can be resoled. It is heavy, takes real breaking in, and needs conditioning. For heavy loads and rough terrain over many years, it remains the best value.
Nubuck and split-grain leather combined with fabric panels is the mainstream mid-boot construction. Lighter, cheaper, quicker to break in, and less durable at the flex points where fabric meets leather.
Fully synthetic uppers are the lightest and dry fastest, need essentially no break-in, and have the shortest life, especially where the mesh abrades against rock. On a trail shoe used for day walks, that is a perfectly reasonable trade.
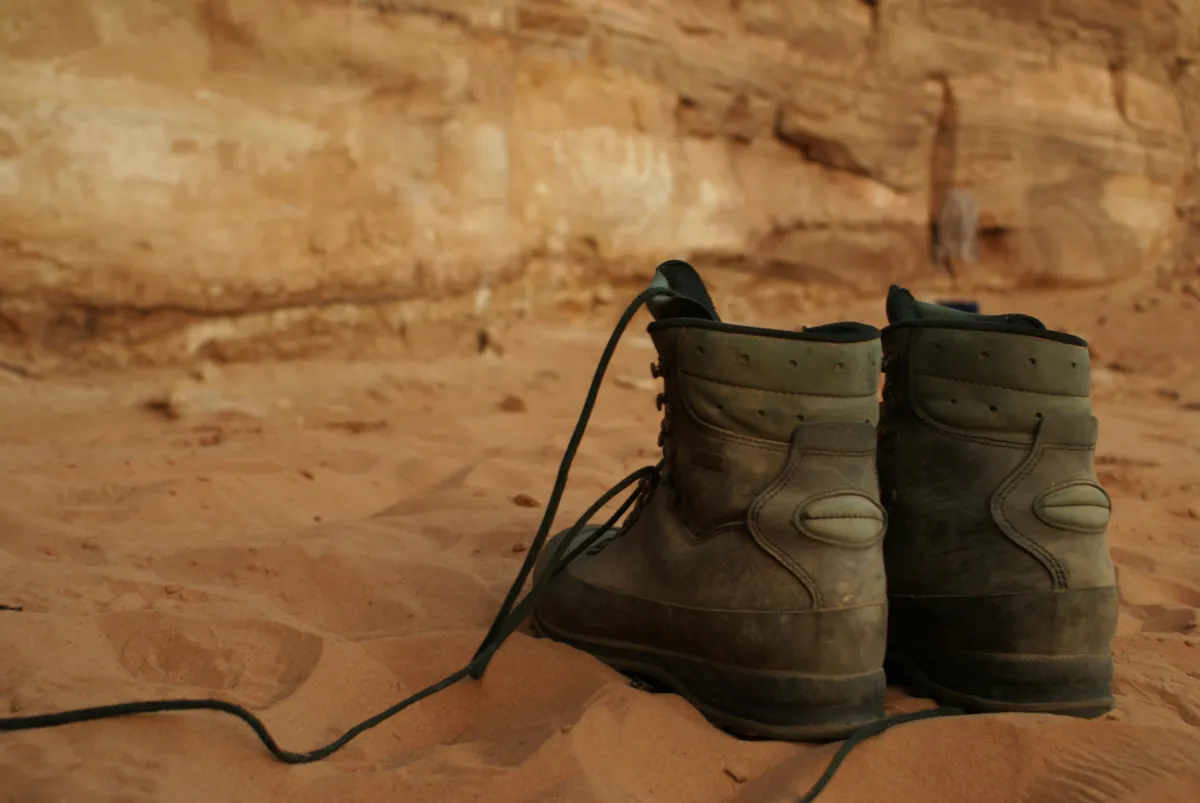
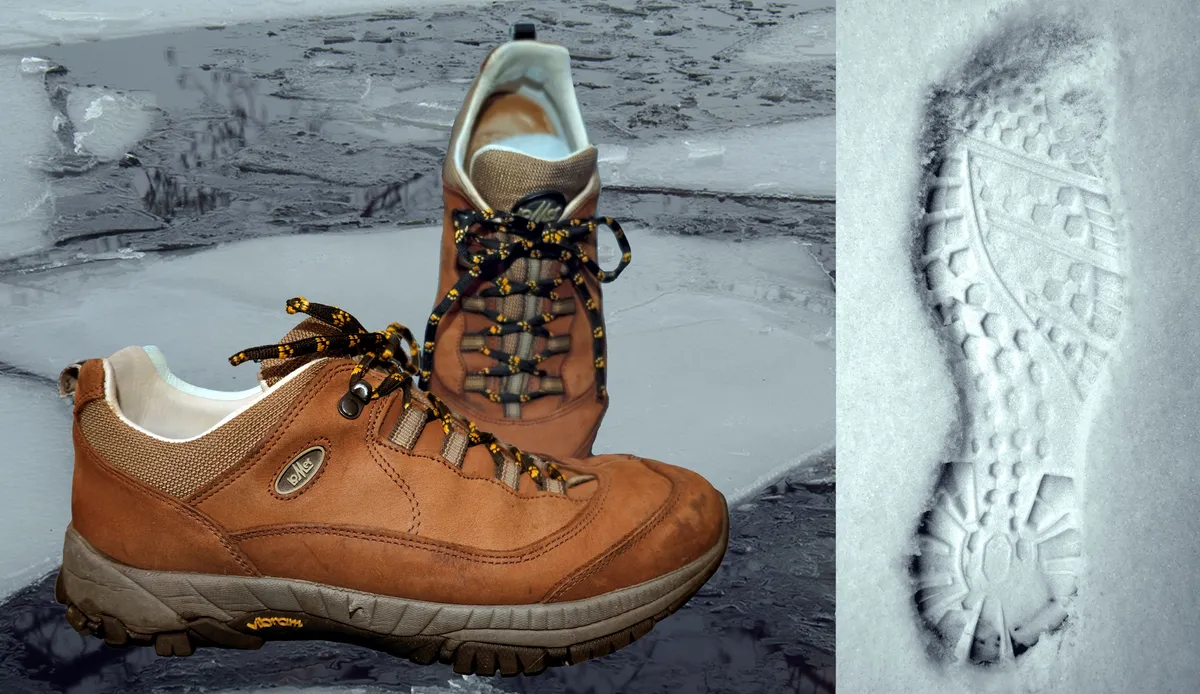
One construction detail worth checking: how the sole is attached. A cemented sole is glued and cannot practically be replaced, which caps the boot's life at the outsole's life. A stitched or Gore-welt construction can be resoled by a cobbler, which on an expensive leather boot means two or three times the service life. If you intend to keep boots for a decade, ask whether the model is resoleable before buying.
Outsoles: lug depth is not the whole story
Deep, widely spaced lugs shed mud and bite into soft ground. Shallower, denser lugs give more contact area on rock and hard-packed trail. Aggressive mud-shedding lugs on dry rock actually grip worse than a flatter pattern, because less rubber touches the surface.
Rubber compound matters more than pattern. Softer compounds grip wet rock far better and wear out faster; harder compounds last longer and slide on wet limestone. Premium outsole brands publish compound variants for exactly this reason, and a boot with a named sticky compound is worth the premium if your local terrain is wet rock or scrambling.
Two features to look for: a defined heel brake, which is the squared-off step at the back of the outsole that arrests you on steep descents, and a toe rand or rubber bumper, which saves the front of the boot from being destroyed by rock kicks. Both are cheap to include and obvious in their absence after one rocky walk.
Socks, blisters, and break-in
Socks are not an accessory to boots; they are part of the fit system. Merino wool or a wool blend manages moisture, resists odour, and cushions without bunching. Cotton holds water against the skin and is the most reliable blister generator available. Get the thickness right for the boot: a thick sock in a snug boot creates pressure points, a thin sock in a roomy boot allows movement, and movement is what causes blisters.
Blisters come from friction plus moisture plus heat. Reduce all three: change into a dry pair of socks halfway through a long hot day, tape or apply a blister plaster to known hot spots before they become sore rather than after, and stop to fix a wrinkled sock the moment you notice it. A five-minute stop prevents a two-week problem.
Break-in is real for leather and stiff boots, and largely a myth for synthetic trail shoes. Wear new boots around the house, then on short local walks with a light pack, then on a half day, before committing them to a big route. Never take brand-new stiff boots on a multi-day trip. If a boot hurts in a specific spot after several short walks, it is not going to break in there; return it.
Care, and knowing when they are finished
After a muddy walk, knock the worst off, rinse with cold water and a soft brush, remove the insoles, and let boots dry at room temperature away from radiators and direct heat. Heat degrades adhesives and cracks leather, and a boot dried on a hot radiator loses its sole years early. Stuff them with newspaper if they are soaked. Condition leather when it looks dry, and reproof the outer when water stops beading.
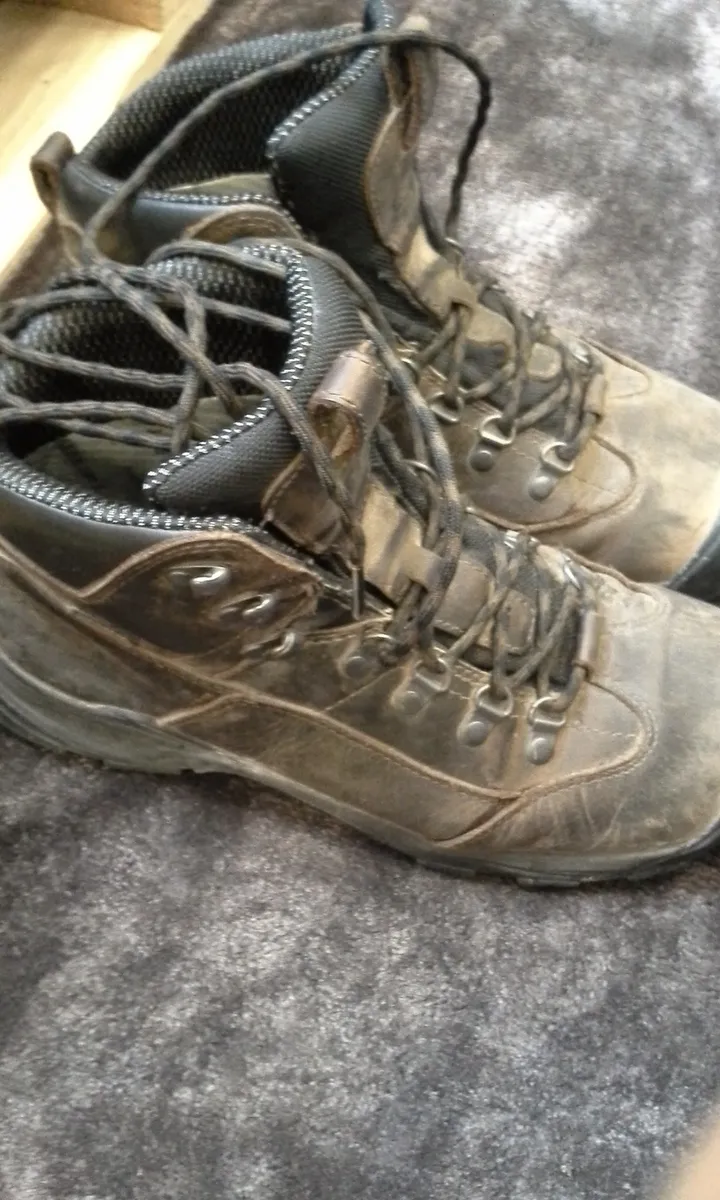
Boots are done when the midsole loses its rebound, which happens long before the outsole looks worn. Press your thumb into the midsole foam: if it feels dead and compressed, cushioning is gone and your knees will notice. Other end-of-life signs are lugs worn smooth at the heel brake, cracking where the upper flexes, and a delaminating sole edge. Trail shoes typically last 600 to 1000 km; leather boots can go several times that if they are resoleable and cared for.
What else to have with them
Gaiters keep mud and scree out of mid-cut boots and are far cheaper than higher boots. Trekking poles reduce load on knees on descent, which does more for your feet and legs than any boot feature. And the rest of the day-walk kit matters: see the camping gear buying guide for layering and shelter, the Osprey Daylite backpack review for a day pack that suits shorter walks, and the Hydro Flask 32 oz review if you carry a bottle rather than a bladder.
For everyday boots that get walked in rather than hiked in, the trade-offs are different — the Dr. Martens 1460 review covers that end, and our wardrobe durability guide looks at how to judge construction quality across footwear generally.
The short version
Match the category to your actual hikes: trail shoes for day walks and light loads, mid boots for mixed hillwalking, stiff boots only if you carry heavy multi-day loads. Ignore ankle-support marketing and choose collar height for debris and heel hold. Fit is decisive — a thumb's width at the toe, minimal heel lift, tested on a slope board in the afternoon in your hiking socks. Take a membrane for cold and wet, skip it for hot and dry. Choose the outsole compound for your local rock, not the lug depth on the poster. Then buy decent wool socks, because good boots with cotton socks still produce blisters.
More coupon shopping advice

Home Security Camera Buying Guide: Local vs. Cloud Storage
A practical, balanced buying guide to home security cameras that weighs local storage against cloud subscriptions, wired versus battery power, camera placement, night vision, smart detection accuracy, and smart home integration.

Beginner Mirrorless Camera Buying Guide
A practical, honest walkthrough of what actually matters when buying your first mirrorless camera, from sensor size and lens mounts to autofocus, video specs, and the real total cost of a beginner-friendly system.

Air Purifier Buying Guide: CADR, ACH, and Filter Costs Explained
A practical walkthrough of the numbers that actually matter when buying an air purifier — CADR and ACH for sizing, true HEPA versus marketing terms, real three-year filter costs, realistic noise levels, and when a purifier won't help at all.